In today’s makeup routines, contouring is a must for getting that flawlessly sculpted look. It draws attention to your best features, adds dimension, and casts shadows over your natural features to make them pop. A variety of superior products are available from Classicmakeup USA to assist you in achieving an impeccable contour. This comprehensive tutorial will show you how to utilize Classicmakeup USA products for the ideal contouring method, regardless of your level of experience.
Step 1: Skincare Preparation
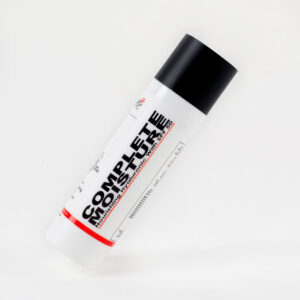
It is imperative to start with a clean, moisturized face before contouring. The cornerstone of beautiful makeup is skincare. Maintain a consistent regimen of cleaning and moisturizing to keep your skin nourished and silky.
Step 2: Utilize the Foundation
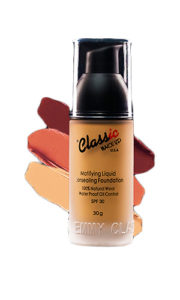
To create a uniform basis for your contour, apply foundation all over your face. For a flawless appearance, use a foundation that complements your skin tone.
Step 3: Select the Shade of Your Contour
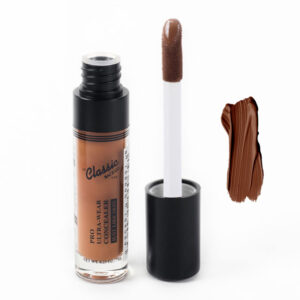
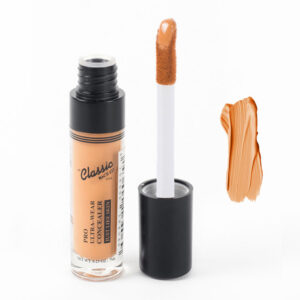
Selecting the appropriate hues is crucial while contouring. A lighter shade for highlighting and a darker shade for contouring are required. Your highlight should be one or two shades lighter than your natural skin tone, and your contour shade should be two to three shades darker.
Step 4: Aligning Contours
It’s time to start shaping now! To add definition, use the contouring shade on the parts of your face where shadows naturally fall. How to do it is as follows:
Cheekbones: To locate the hollows, suck in your cheeks. Along this line, apply the deeper shade, moving from your ear to halfway across your cheek.
Jawline: Use contouring right below your jawline and blending downward toward your neck to define your jaw.
Forehead: Apply contour along your hairline and blend carefully to minimize a big forehead.
Nose: Apply a tiny bit of contour to each side of your nose and carefully blend it in to achieve a thinner nose.
Application Tip:
Use a Contour Brush to apply the product precisely, then blend it out with a damp beauty sponge for a natural finish.
Step 5: Highlight Key Areas
Next, apply the lighter shade of your contour palette to highlight the areas where light naturally hits your face. This will give your face a lifted and glowing appearance.
Under the Eyes: Apply the highlight under your eyes in a triangular shape to brighten and lift.
Center of the Forehead: Apply a small amount of highlight to the center of your forehead.
Bridge of the Nose: Use highlight down the bridge of your nose to make it appear straighter and more defined.
Chin: Apply a bit of highlight to the center of your chin for balance.
Above the Cheekbones: Apply a bit above your cheekbones for a luminous look.
Step 6: Continue to blend!
Seamless blending is the secret to flawless contouring. To incorporate the contour and highlight tones into your foundation, use a blending brush or a beauty sponge. To produce a natural gradient, make sure to soften any hard lines by blending in circular motions.
Step 7: Determine Your Shape
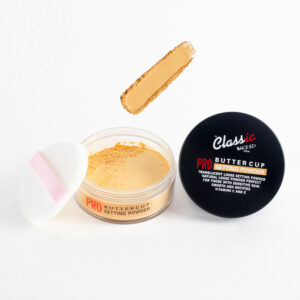
Use a powder to set your makeup so that your contour will stay in place all day. By locking the product in place, this step stops it from fading or creasing.
Step 8: Finish with Blush and Highlight For a radiant glow, add a hint of blush to the apples of your cheeks and a soft highlight to the tops of your cheekbones to complete your contoured look.
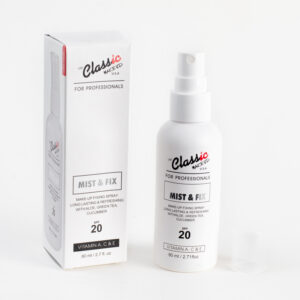
Step 9: Lock It In To ensure your makeup stays in place all day, set your entire look with a setting spray.
Contouring does not need to be complicated. The extensive product line offered by Classicmakeup USA makes it simple to achieve a defined, sculpted look. Every product, from their brilliant highlighters to their creamy contour palette, is made to be both user-friendly and to give you that polished look. With practice and adherence to this comprehensive tutorial, you’ll quickly become an expert in the art of contouring!
Learn more : https://youtu.be/gkkmHizG2As


Excellent piece! Your thorough summary is much appreciated. I now see the issue from a different angle thanks to your insightful comments. You made your points quite clearly with the examples you included. You have my gratitude for penning this.
I never thought about it that way—great perspective.
What an excellent post! Reading it was really educational for me. You provided extremely well-organized material, and your explanations were both clear and brief. Your time and energy spent on this article’s research and writing are much appreciated. Anyone interested in this topic would surely benefit from this resource.
The simplicity of your explanation makes this topic easy to grasp.
This post provided a lot of clarity on the subject—thank you!
This post made a lot of sense to me—great work.
This is a fantastic post, keep up the great work!
This post is incredibly well-written—thanks for the clarity!
I’ve learned so much from this article, great work!
Thanks for making this topic so approachable.